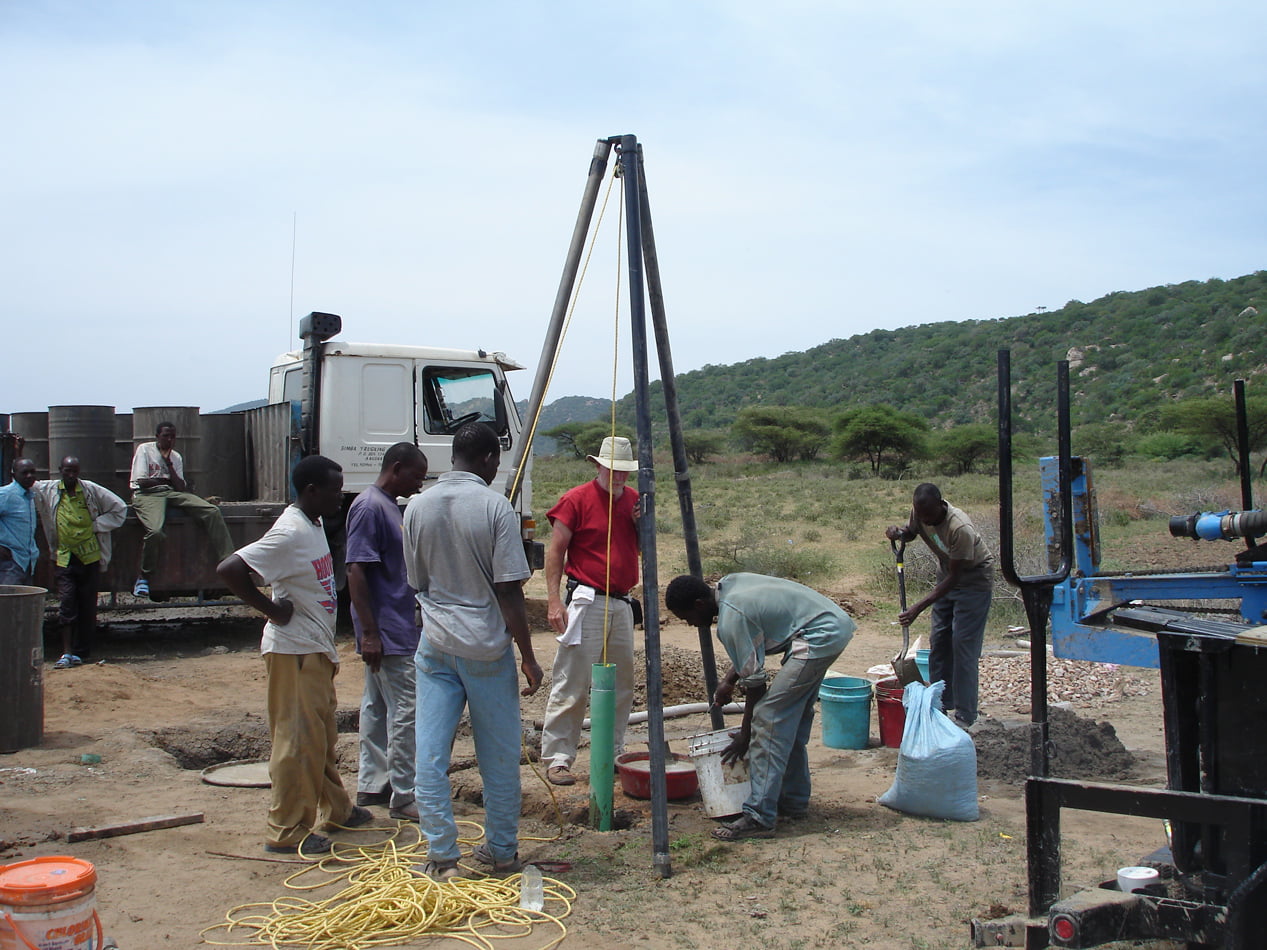
Sealing water well to protect it from surface water contamination.
After you reach water with any drilling project, it’s time to put the tools away and rest in a job well done — almost. Before you hang up your work boots, you must seal your well to protect it from surface water contamination.
Following a few best practices to ensure you have an effective, long-lasting seal will save you headaches down the road and give you peace of mind that your well is safe from contamination.
1. Go the depth. Be sure to extend the seal down to the first impermeable sediment layer. If you can extend it further, do it.
2. Mind the gap. To create an effective seal, make sure the borehole diameter is at least two inches greater than the casing diameter. This space is important because without it it’s nearly impossible to get a reliable seal that’s deep enough to protect the well completely.
3. Use neat cement. A cement mixture with no sand or bentonite (also known as neat cement) creates a thin grout or slurry, which is ideal for your seal. This will be pumped or poured down between the casing and the borehole wall.
4. Create a berm. The neat cement mixture can also be used to create a berm around the top of the borehole, preventing surface water from collecting around the top of the well.

An effective, long-lasting seal protects the well from surface water contamination.
5. Wait to install the water pump. To allow time for the cement to set properly, wait at least 24 hours before installing the water pump.
Taking a few simple steps will help you prevent contamination issues and keep your well producing safe water for years to come. And don’t forget to regularly maintain your equipment during and between projects to ensure safe, efficient drilling.
For more resources on effective water well drilling, contact a Lone Star expert.